Our 2024-2025 Engineering Process
Our process is called Metamorphosis and has been integral to our success. It is a 7-stage process that allows us to create a robot that evolves as the season progresses. Metamorphosis is an evolutionary process- changes are constantly being made to find the best possible design solution to all functional parts of the robot.
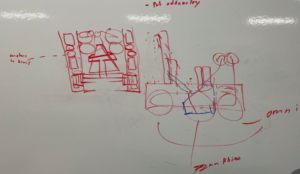
Stage 1 is Brainstorming. During this stage, our entire team collaborates about what we are trying to accomplish. Every member offers their input and presents ideas. With full participation, consensus reached is the best possible solution.
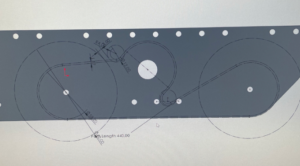
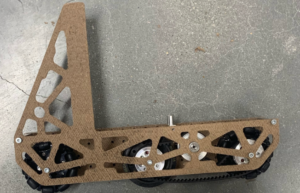
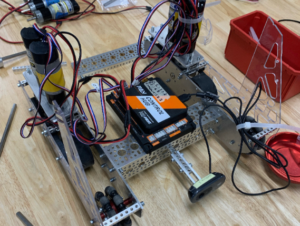
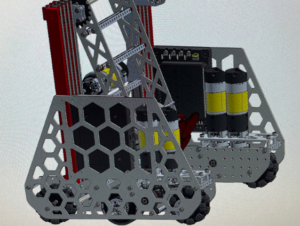
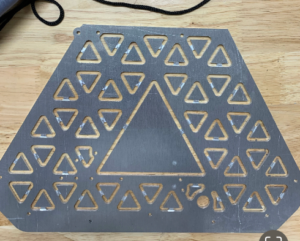
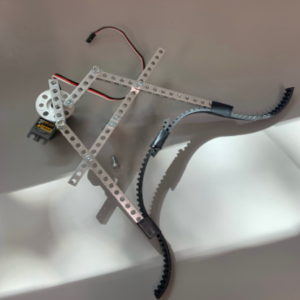
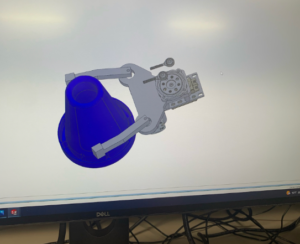
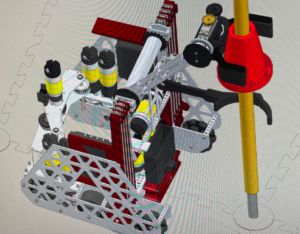
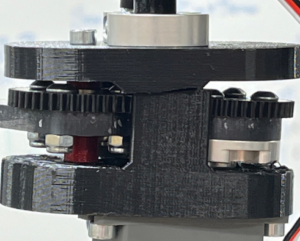
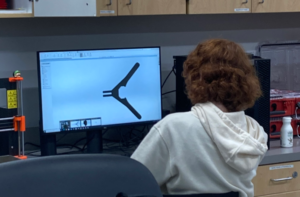
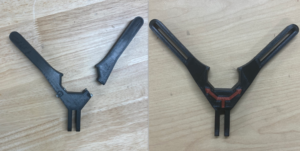
Stage 2 is Prototyping. In this stage, we make a proof of concept for the ideas born during brainstorming. We use cardboard, lexan, and hot glue to prototype the design. If the design doesn’t work in this step, we go back to brainstorming. If it does work, we start 3D Design. We CAD using SolidWorks and design the mechanism the way we expect it to look in the finished robot. Often times we create custom parts with our 3D printer to tie everything together. This stage acts as an “instruction manual” for our robot. We also run simulations and test stress levels to validate the design is durable. After we finish designing it, we start Building, finally putting the robot together. After the robot is built, we start Testing to see how the mechanism is working. This stage couples hardware and software as we use basic software to test motors and servos. Next stage is Analysis. This is where we discuss the effectiveness of the mechanism. We look for weaknesses and strengths in the design, asking ourselves, “How can we improve?” If the mechanism doesn’t work, we cycle back to brainstorming and restart the process. Last is Modify, where we edit anything we think might be beneficial. After this, we cycle the last 3 steps over and over: testing the changes, analyzing the effectiveness, and implementing improvements.
Our 2022-2023 Season Process
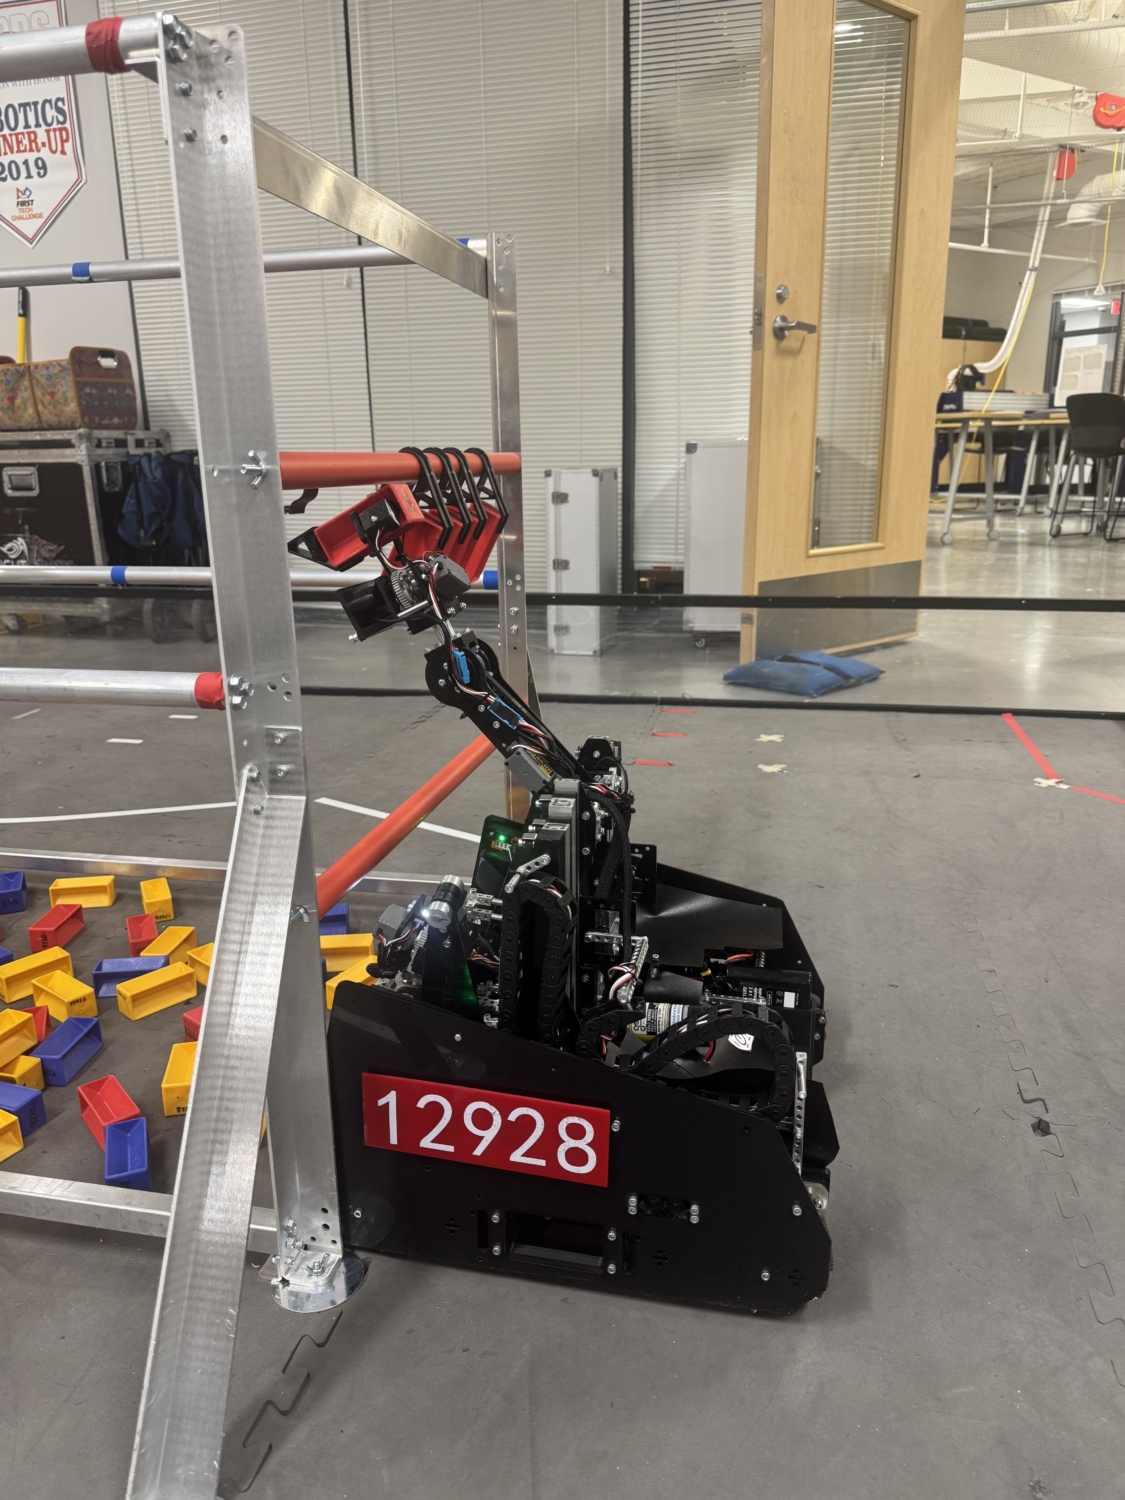
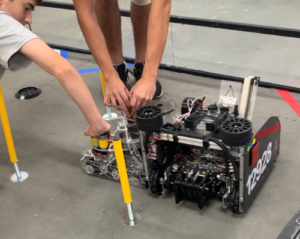
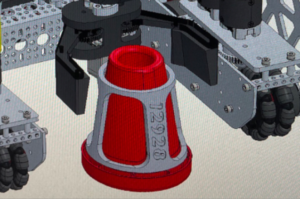
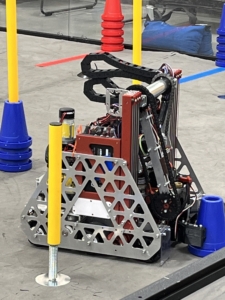
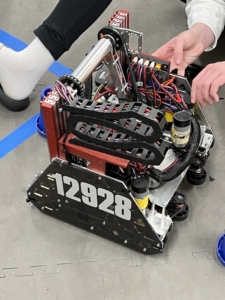
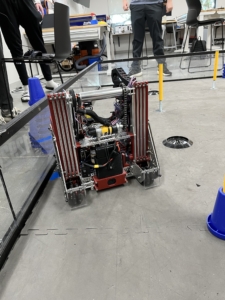
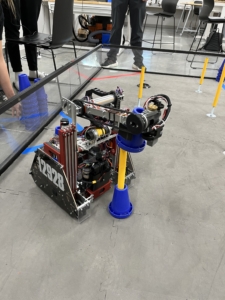
Our robot was designed with efficiency in mind and minimizes time spent intaking and out-taking. Our intake was a pass-through intake instead of a claw so we can get in and out of the terminal very quickly and not be in the way of teammates. We accomplished this efficiency with compliant wheels on flexible mounts that pull the cone into a slot in the middle of the robot. Our outtake mechanism picked up the cone from inside the robot and had a chain-driven flipping bar that lets us deliver on the other side from the intake. A servo allowed for a “wrist-like” movement and lets us orient our cone in any way. Our drivetrain had 4 Omni wheels and was powered by vertical motors that allow for maximum space efficiency.
Process
Software
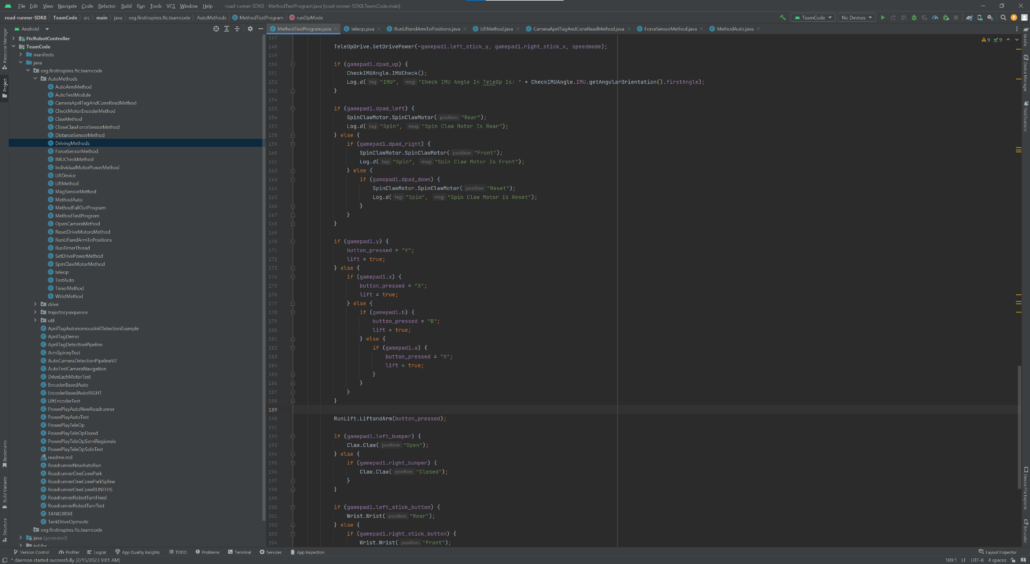
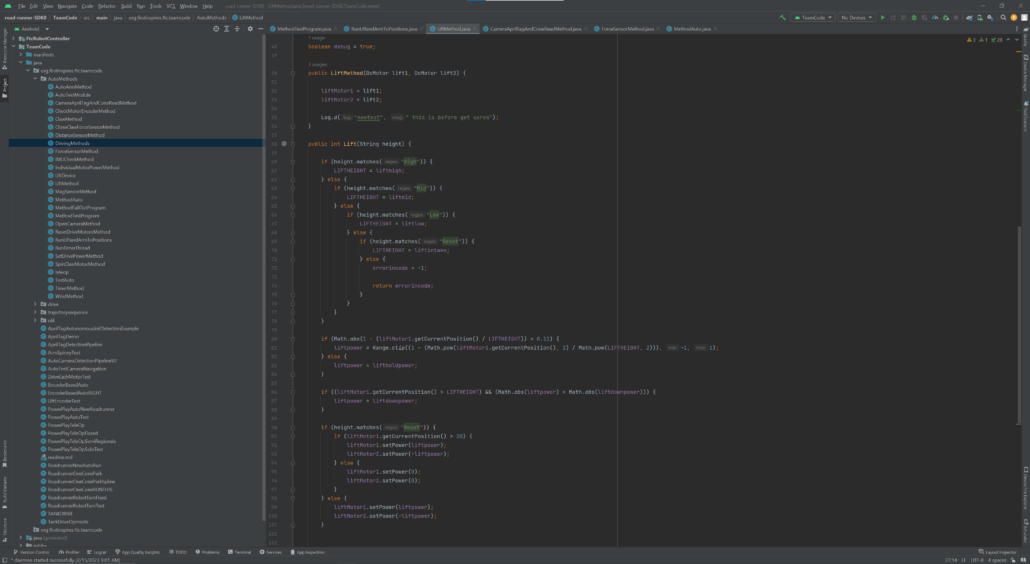
Our MethodTestProgram, used to systematically test and log the results of every one of our methods to effectively maximize our productivity.
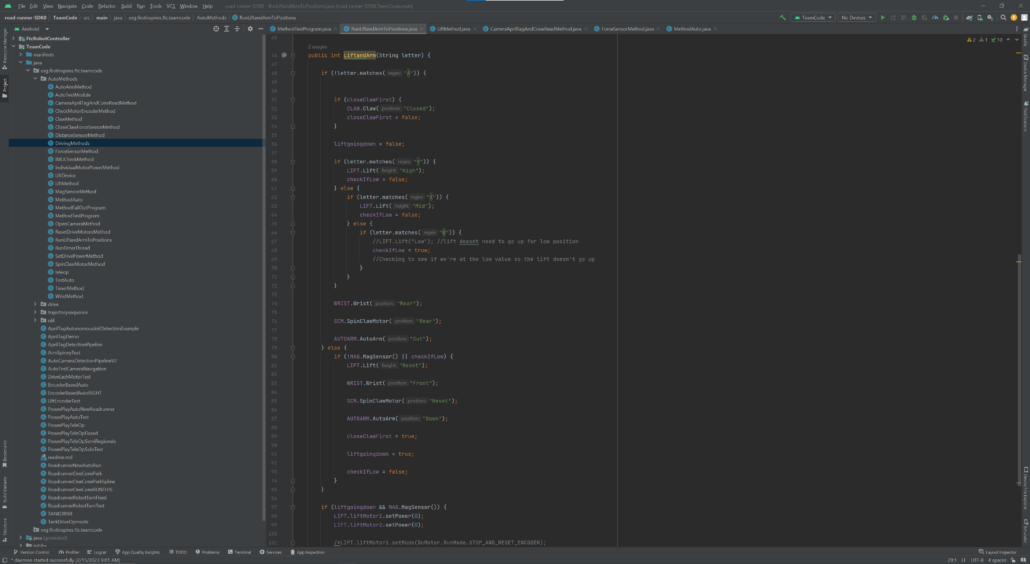
We combine individual methods into larger ones like this to run several functions of our robot simultaneously while also providing options by passing in variables to determine which position we run to.
We isolate a certain aspect of our robot based on our needs in order to isolate errors and expedite the debugging process, passing variables into these smaller ones to run the motors based on certain commands.
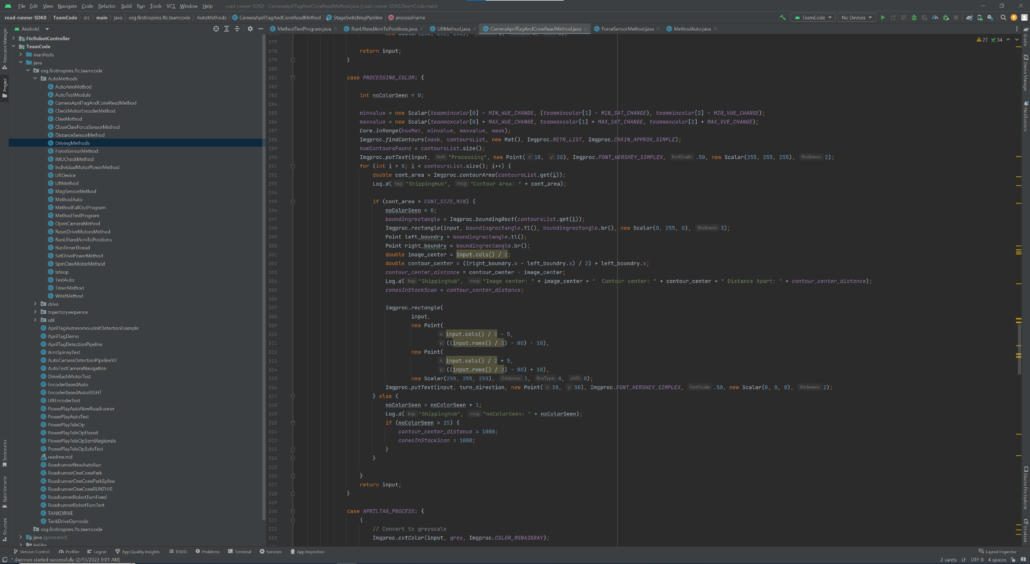
We use a stage switching pipeline to be able to use the same method to run three functions of the camera. It’s a switch-case statement that determines whether to scan the cone’s color, search for the calibrated color, or read the QR code on our signal sleeve to determine which of the three parking zones to end the autonomous period in.
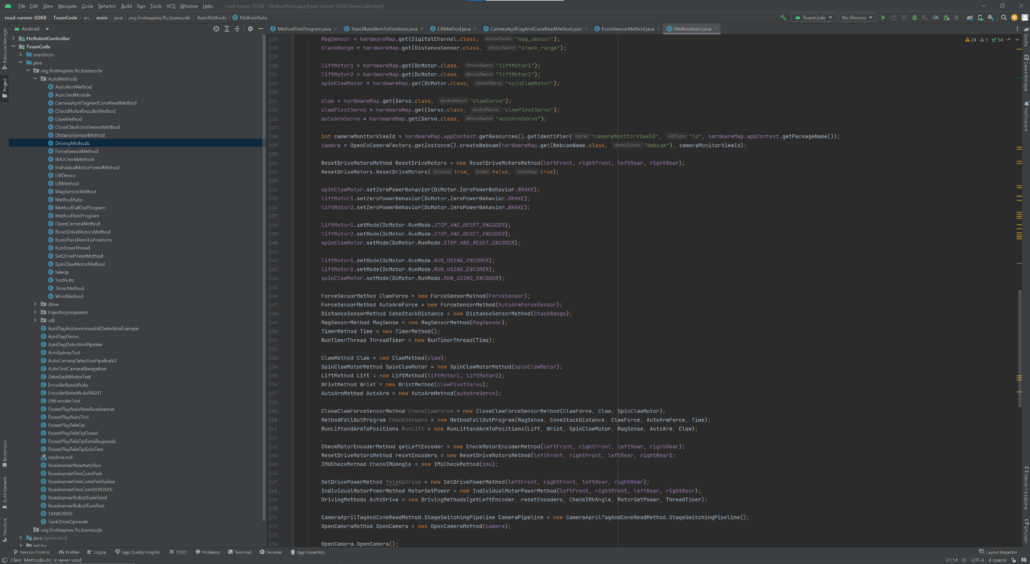
We pass our hardware map into its respective methods so that the only methods that need access to anything have said access. This is one way we isolate errors by keeping outside methods from changing any values of other features.
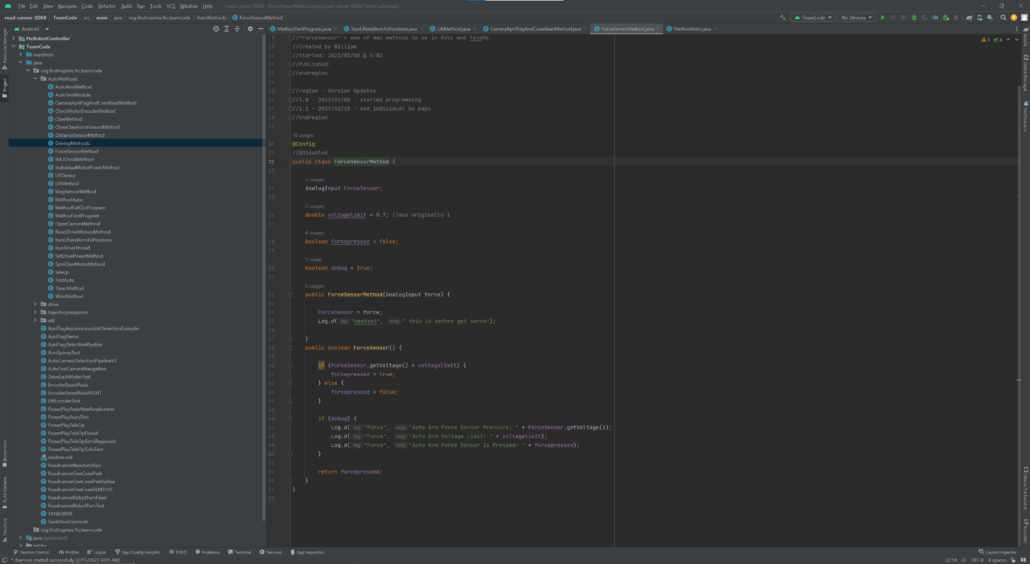
This is a split resistor circuit that returns zero volts as long as the force sensor is not in contact with anything else because we are reading the voltage between the two resistors (that means we basically read the voltage of the second half of the circuit). The first resistor, when not pressed, has a very high resistance, letting almost none through to be read. However, once it is pressed, the resistance lowers and the output voltage rises. We have two of these on our robot, one on our claw, and the other on our alignment arm used in auto to score the cones consistently. When the force sensor on our claw is pressed, the claw automatically closes as long as our lift is in the scoring position and the force sensor on our auto alignment arm is used to tell us when we are ready to drop the cone in auto.
